Pages

Sunday 22 March 2015

12 Tags of 2015 - March

marchtag 

 Tim's beautiful tag is above.
If you click on the pic it should take you to
his blog where he shows and describes how he made it. 

As usual I didn't have many of the products used,
so made do with what I had


I did have plenty of different tissue tape,
but only three colours of Distress Paint.

For the next stage I didn't have the texture paste
so used a Golden product 'Coarse Pumice Gel',
but unfortunately that didn't work well at all and
at this stage I was ready to throw the tag away!

However, I scraped the gel off and quite liked
what was left - a shadowy stencilled effect.


I finished it off with a sari ribbon branch
and some scruffy machine stitching around the edge.


Not forgetting the little fragment -
coloured with alcohol inks - FLY stamped on a
piece of white copy paper and glued on underneath
with Glossy Accents.
(The bird is from 'Artful Flight CMS069' from
Stampers Anonymous.)

I'm glad I didn't throw it away now.

Thanks for looking :)

Thursday 19 March 2015

Fabric Prim-cesses!


My little Prim..cesses!
I think the style of these little dolls is 'Prim' as in
primitive?  If I'm wrong, please correct me.

The other day over on Pintrest, I saw the picture below

              BROOCH pin free machine embroidered girl              
It is made by Viv at Hens Teeth Art
and I immediately fell in love with the style of it
and decided to have a go at making some of my own.

Here's my process -

 
 The first thing I needed was to get to grips with trying
to do some 'free machine embroidery' for the hair.
The closest I could find in the instruction book for my old
sewing machine was the 'darning' technique and I think
it worked quite well.  It really is a loose and free action
 and quite difficult to control but I'm glad I 'mastered' it!


   The faces were simply done with a few marks
with a pen for the eyes and mouth and a little
chalk blusher for the rosy cheeks.


I always enjoy choosing fabrics and trims to dress dolls.


Machine stitch the fabrics on, then cut the shapes out.


Stuff them loosely, machine stitch the bottom
and attach some lace and a button.

 
           Finally, attach ribbon at the back to display them.
Or alternatively a pin to make a lovely brooch.

How easy was that, and how lovely they all are,
even if I do say so myself.

Thanks for looking :)

Friday 13 March 2015

PaperArtsy Blog Challenge No. 5 - Deconstruction


The new challenge on the PaperArtsy blog is 'Deconstruction' -
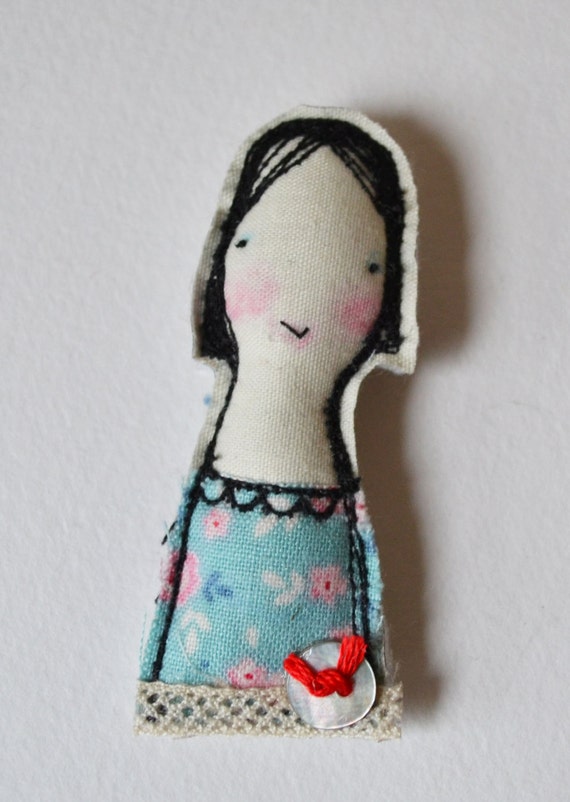
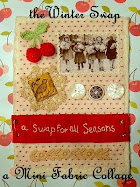
I've taken that literally as you can see from my photo above,
but there are lots of other interpretations - 
all the details may be found here.

So, why have I cut my jeans up?
Firstly, they no longer fit me (yay, the diet's working!!)
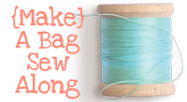
and for sometime I've been wanting to turn jeans
into a bag and I recently found a link to some video tutorials
which explains just how to do that.
When I saw the 'deconstruction' theme and watched Leandra's
YouTube video and she mentioned using fabric - that was my
nudge to get on and do it! 

I won't describe in too many words step by step how I turned
my jeans into a bag, but have taken a few photos
along the way - and here are the links to the YouTube videos,
by the very talented Izzy MEIMsaab -


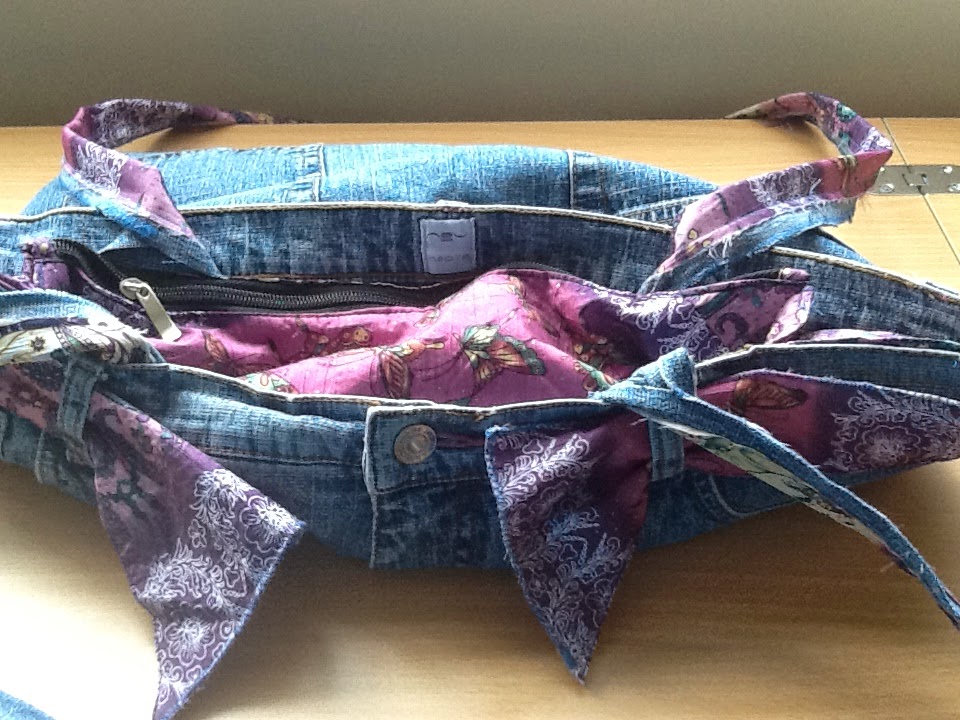
Once the jeans were cut up and stitched along the bottom
I needed to find some lining fabric.
In amongst my fabric stash, I found this actual bag
 which I'd bought on holiday a few years ago and decided I'd never use
 - it's a silky soft fabric and perfect for the lining -
 and it already has a zip in - result!


I cut the handles off the holiday bag, cut into strips
and then stitched onto some of the denim (from the legs of the jeans).
In the videos the handles were left unfinished - for a trendy look,
but I couldn't bring myself to leave them so messy -


I just folded them in half - they're still a bit scruffy, but that's ok for me.
(How lucky the colours in the holiday bag match the 
embroidery on the pockets of the jeans)


I used more of the fabric from the holiday bag to thread
through the belt loops.


I made the handles quite long as I like to
wear my bags over my shoulder.

So that was the bag finished, but I hadn't used any
PaperArtsy products - I know that isn't a requirement of the
challenge, but still it didn't seem right not to.
Here's what I used - Fresco Finish Chalk Acrylics
Lilac and Sherbet


...and from another holiday, a couple of old drink coasters
and some of the left over fabric 


I used a Sizzix Bigz Die - 'Artist Trading Card' to
change the shape of the coasters.


Painted and rubber stamped the inside of what
had become a little post in note holder
with some paperArtsy products

 
For the outside covers, I stitched more of the fabric
directly onto the coasters - the denim heart is another
Sizzix die cut shape.
(I overlooked the fact the top of the covers were rounded
so when I punched holes with the Bind it All machine,
the holes only partially punched out - doh!)


Ta-da!!
I think I'll try the bag out tomorrow
when I go shopping :)
 
Thanks for looking.


Tuesday 3 March 2015

Let's Get Arty - with Lily in the Garden!


There's a new challenge blog which I heard about on Jan's blog
which looked interesting so I thought I'd join in with.

You can find all the details at

This is a 'Colour Swatch Challenge' and
the first thing to do was choose one of my photos
- here's Lily in the garden taken last year.

The colour swatches on the right have been generated
by a website called 'Chip It' 
and has turned my photo into a palette - how cool!

The challenge is to create a project using
at least 4 of the colours from the swatches.

I printed off the swatches and found some sari ribbon
which seemed to fit the bill.


(I only ended up using two of them though - along with some
other bits and pieces for the other colours).

A paper doll came to mind, I haven't made one for a while.


Using old packaging, I cut the body shape using
the above Sizzix die.


I rubber stamped one of the lovely faces from Clare Lloyd's
new set as show above - and glued it onto the die cut head.


I dressed the body with strips of the sari ribbon.

I gave her some hair using embroidery thread.


Did you notice her jewellery - a necklace and
matching bracelet of Rose Quartz.

So what colours did I use?
As close as I could get them anyway -
Nankeen - for the dress
Honorable Blue - also for the dress
Reverie Pink - the jewellery and legs
 (although you can't see the colour in the photos)
Tricorn Black & Porpoise - for the hair.

What a fun challenge!
Thanks for looking :)