Pages

Friday, 26 November 2010

Compendium of Curiosities - Challenges Nos 22 & 23

These two pieces were both created following the challenges set by Linda on her blog Studio L3 working from Tim Holtz book 'Compendium of Curiosities'.

Challenge No. 22 Alcohol Ink Splatter


(Technique detailed on page 52 of the book)

The alcohol ink colours I used were Cool Peri, Cloudy Blue and Pink Sherbert.  I hadn't used this combination before, but love it and will be using it again!
Most of the effect is covered up by the detailed stamp (Stampers Anonymous 'Pattern Pieces' CMS 012).  I used an archival ink for the rubber stamping but it wouldn't dry properly even with the heat gun.  In the end I used some embossing powder over the top which has sealed in it (hopefully!).
I had some lace and buttons which matched the inks perfectly so they became the accents of this very girly birthday card.

Challenge No. 23 'Double Distress'


(Technique detailed on page 40 of the book)

Nothing girly about this birthday card!  I embossed Grunge Paper with one of Tim Holtz Alterations textured fade embossing folders and coloured it with the following inks and distress stickles


The obscure man image is from Paperartsy, stamped and coloured with more distress inks.

I know I'm too late for the no. 22 challenge, but still wanted to record my efforts!

Thanks for looking - and if there's any where you are, stay safe in the snow!

Wednesday, 24 November 2010

What's On Your Workdesk? Wednesday Week 77


It's that time of the week again when we can all have a good old snoop around the desks of other crafters - go and have a look at Julia's blog Stamping Ground for more details and links!

On my desk today is an unmounted set of stamps called 'Vintage Sewing' from Creative Expressions and the Kling-On stuff I'm presently sticking them onto.  It's a bit of a laborious and sticky job, but worth doing in the long run.

Over the back you can see two small sheets I've been playing around with using the alcohol ink splatter effect from Tim Holtz book.  I discovered what my favourite alcohol ink colour is - 'Cool Peri' and I love the combination of it with 'Cloudy Blue' and 'Pink Sherbert'.

Here's another reveal of what's in three more of my little drawer units


Ranger memory glass, tape and frames.


Stampbord squares and accessories and other alterable surfaces - coasters and those little formica chips (from DIY stores).


Dominos in various sizes.

If you visited my desk last week you would have seen the footstool I had taken apart and ripped the fabric from.  I finished the revamp this week and am really pleased with how it turned out.  More photos and details are in my previous post, but here's what it looks like now.


In the words of Bugs Bunny 'That's All Folks', and thanks for stopping by - if you let me know you've been, I'll come along to visit you too.


Monday, 22 November 2010

Footstool Revamped


Here's the old footstool revamped.

This is how it looked before


I've had this footstool for many years and when we moved into our present house (about 11 years ago) I put it under my craft desk pushed to the back and that's where it stayed - until now!

Here's what I did to transform it


Took the top and legs off and carefully ripped off the fabric.


I kept the old foam cushioning on.


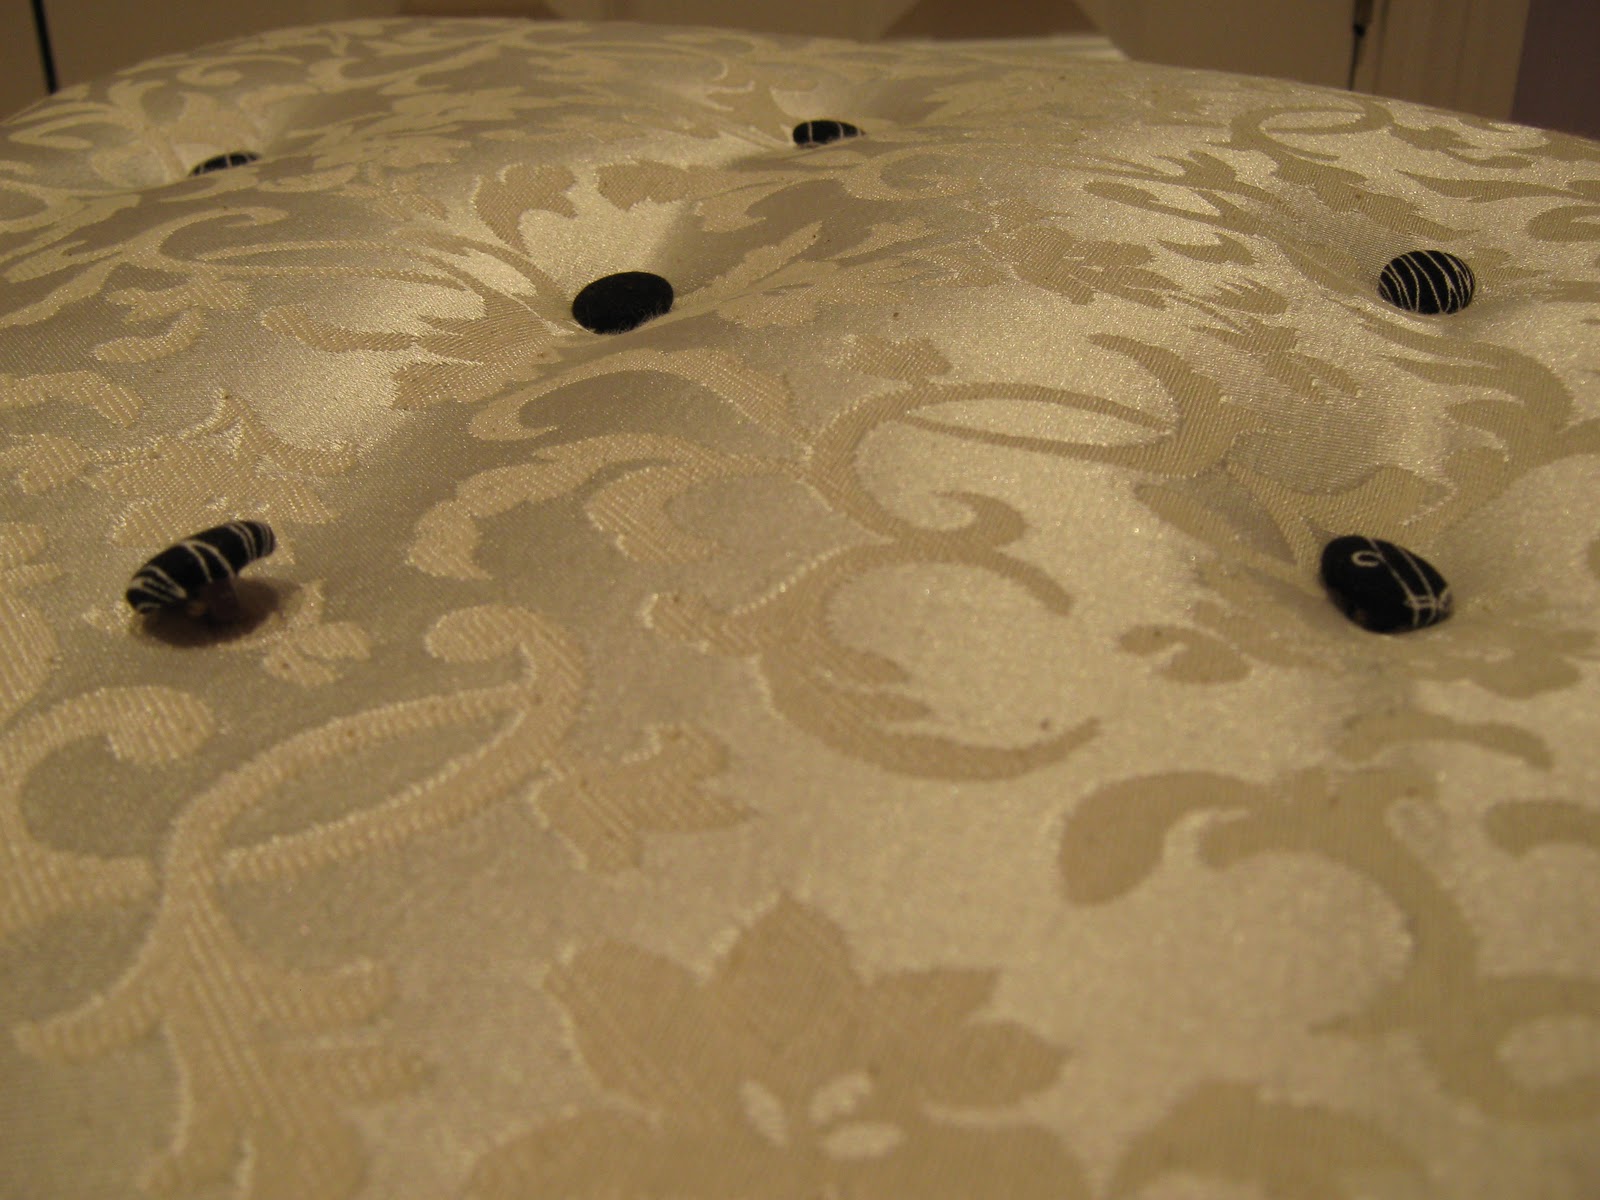
I removed the covered buttons from the lid.


I used the old fabric as templates - much easier than measuring everything!


I covered some buttons with the black material and laid them out onto the fabric for the lid.


Using my trusty old staple gun, I attached the fabric around the bottom.  I love this fabric, but unfortunately didn't have enough of it to do the lid too.
The fabric is called Dress Forms by Michael Miller.


To cover the inside of the lid, I used the same fabric as for the top, it is a cream coloured brocade I've had in my material stash for ages.   As the 'Dress Form' fabric is black and white, I wasn't sure if using a cream coloured top was a good idea, but I think it works fine.  Ideally, I should attach some trim to cover the staples up - but that's for another day.


Apart from finding the corners difficult to re-cover - getting an acceptable mitred look wasn't easy, the only other thing I had trouble with was attaching the buttons to the top.  I decided to use the thread from the original buttons, but it wasn't long enough so I couldn't pull the thread through to the inside of the lid - doh!!  This means that the buttons are not as tight or as cushioned as they should be.  However, as I'm not a professional upholsterer, nor will I ever be, I think I did pretty well!

I didn't have to do anything to the legs (apart from dusting them!) as they were already black.


I've gone a bit mannequin mad lately as I bought a wire mannequin standing approx three foot high and two smaller ones which can be wall mounted.  One day soon I hope to make over the sewing area of my craft room and then all of these mannequins and the footstool can be nicely displayed -  if only I could get Kirsty Allsop in to give me a helping hand!

Thanks for looking x


Thursday, 18 November 2010

Thank you Cindy!

This is what I received today in the post from the lovely talented Cindy.

Every month Cindy has a giveaway of something she's created and I was the lucky random winner last month.

You can read all about this beautiful hanger on her blog here.

I chose the colour green as it will hang in my craft room which has elements of green in it.


Many thanks again Cindy, you're the best!


Wednesday, 17 November 2010

What's On Your Workdesk? Wednesday (week 76)


It's Wednesday again (so soon!!) and Julia over on her blog Stamping Ground is again sharing her work desk with the land of blog and asking others to do the same - and as usual there are well over a hundred bloggers who have done just that.

The above photo shows what's on mine at the moment.  It's a footstool - that's to say it was a footstool until I took it apart and started ripping off the old fabric!  Here's what it looked like yesterday


It's been in hiding under my craft desk for the last ten years so I thought it was time for a revamp.

I've taken the fabric off the bottom section and have just started the top (which lifts up revealing some storage inside).  I think the covered buttons on the top may be a problem, but I'm sure I'll sort something out!  

I haven't decided which fabric to use for the recovering yet - I did have some in mind, but discovered I don't have enough of it!  I may still use it, together with some contrasting fabric.  I may keep the little legs black or I may paint them - decisions, decisions - lol.

I've been showing some of my little drawers on previous WOYWW posts, so here's the next three


Chipboard shapes of all sizes and varieties


Friendly Plastic with tools and cookie cutters


Ten Second Studio metalwork tools, moulds and DVD.  (I keep the actual metal sheets elsewhere as they don't fit in the drawer)

That's about it for now, thanks for looking, I'll come and look at yours too if you let me know you've been.